When setting up a wireless hidden camera network, prioritize Hidden Camera With Night Vision Recording for optimal performance. Choose cameras with high-resolution video, reliable connectivity, and clear images day or night. Consider camera angle, field of view, motion detection, durability, weatherproofing, and storage to meet monitoring needs. Proper configuration of recording settings, including resolution and frame rates, is crucial. Strategically place cameras, verify image and audio quality, test wireless range, and adjust settings for optimal hidden camera with night vision recording performance.
Looking to create a comprehensive wireless hidden camera network? This step-by-step guide will walk you through setting up an efficient system, ensuring discreet and high-quality surveillance. From selecting the right hidden camera with advanced night vision recording capabilities to configuring network connections and fine-tuning recording settings, each phase is crucial for optimal performance. Follow these instructions for a seamless installation and testing process.
- Choose the Right Wireless Hidden Camera
- Set Up the Network Connection
- Configure Recording Settings
- Install and Test the System
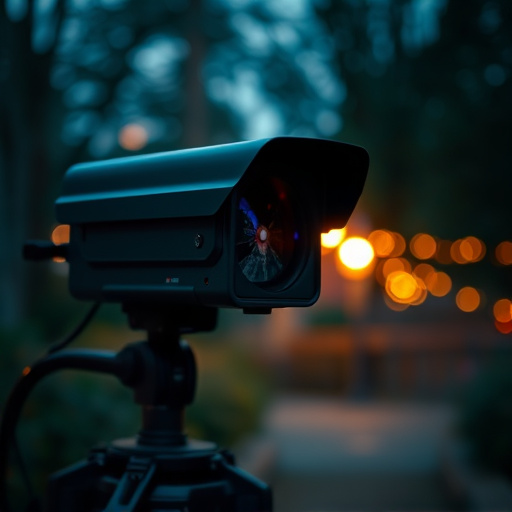
Choose the Right Wireless Hidden Camera
When setting up a wireless hidden camera network, selecting the right device is paramount. Look for a hidden camera with night vision recording that offers high-resolution video and reliable connectivity. This ensures clear images, both day and night, and seamless transmission to your viewing or recording device.
Consider factors such as camera angle, field of view, and motion detection capabilities to align with your specific needs. Additionally, ensure the hidden camera is durable, weatherproof, and equipped with sufficient storage for extended periods of monitoring. A well-chosen device will be the cornerstone of a robust wireless network, providing effective surveillance and peace of mind.
Set Up the Network Connection
Setting up a wireless hidden camera network involves connecting each camera to your home or office network, ensuring seamless remote access and monitoring. Begin by placing your hidden cameras at strategic locations, taking advantage of their discreet design. These cameras often come equipped with night vision recording capabilities, making them ideal for around-the-clock surveillance.
Once positioned, connect the cameras to your router using a Wi-Fi connection. Most hidden camera systems provide simple setup instructions and user manuals that guide you through this process, ensuring a stable and secure network connection. Verify that each camera is successfully connected by accessing their respective control panels or apps on your device, allowing you to view live feeds and monitor recorded footage remotely.
Configure Recording Settings
When setting up your wireless hidden camera network, configuring recording settings is a crucial step. Start by deciding on the recording format—whether it’s HD or 4K resolution—based on your surveillance needs and available storage capacity. Ensure you select a suitable frame rate that balances quality and file size to optimize storage usage.
For optimal night vision recording, consider adjusting the infrared (IR) settings. These settings determine how well the camera captures low-light conditions, ensuring clear images even in complete darkness. Fine-tune these parameters for the best results, keeping in mind that excessive IR light can be distracting or noticeable if not properly managed.
Install and Test the System
After setting up your wireless hidden camera network, the next step is to install and test the system thoroughly. Begin by placing each camera at strategic locations where you wish to monitor activity. Ensure the cameras have a clear view and sufficient lighting—many hidden cameras come equipped with night vision recording capabilities, allowing for surveillance even in low-light conditions.
Power on the devices and connect them to your network. Verify that each camera is capturing clear images and audio by accessing the system’s control panel via your smartphone or computer. Test the range of the wireless connection, ensuring stable and reliable performance throughout your desired surveillance area. Adjust camera settings as needed for optimal visibility and recording quality.
Setting up a wireless hidden camera network is a straightforward process, offering enhanced security with remote access. By choosing a reliable hidden camera with night vision recording capabilities, you can easily configure your network connection and recording settings. After installation and testing, you’ll have a robust system in place, providing peace of mind and ensuring your property remains secure 24/7.